By default a full installation of CentOS 7 will have the GNOME
graphical user interface (GUI) installed and it will load up after
system boot, however if we have installed CentOS without a GUI installed
we can always install one later, or optionally we can install a
different GUI.
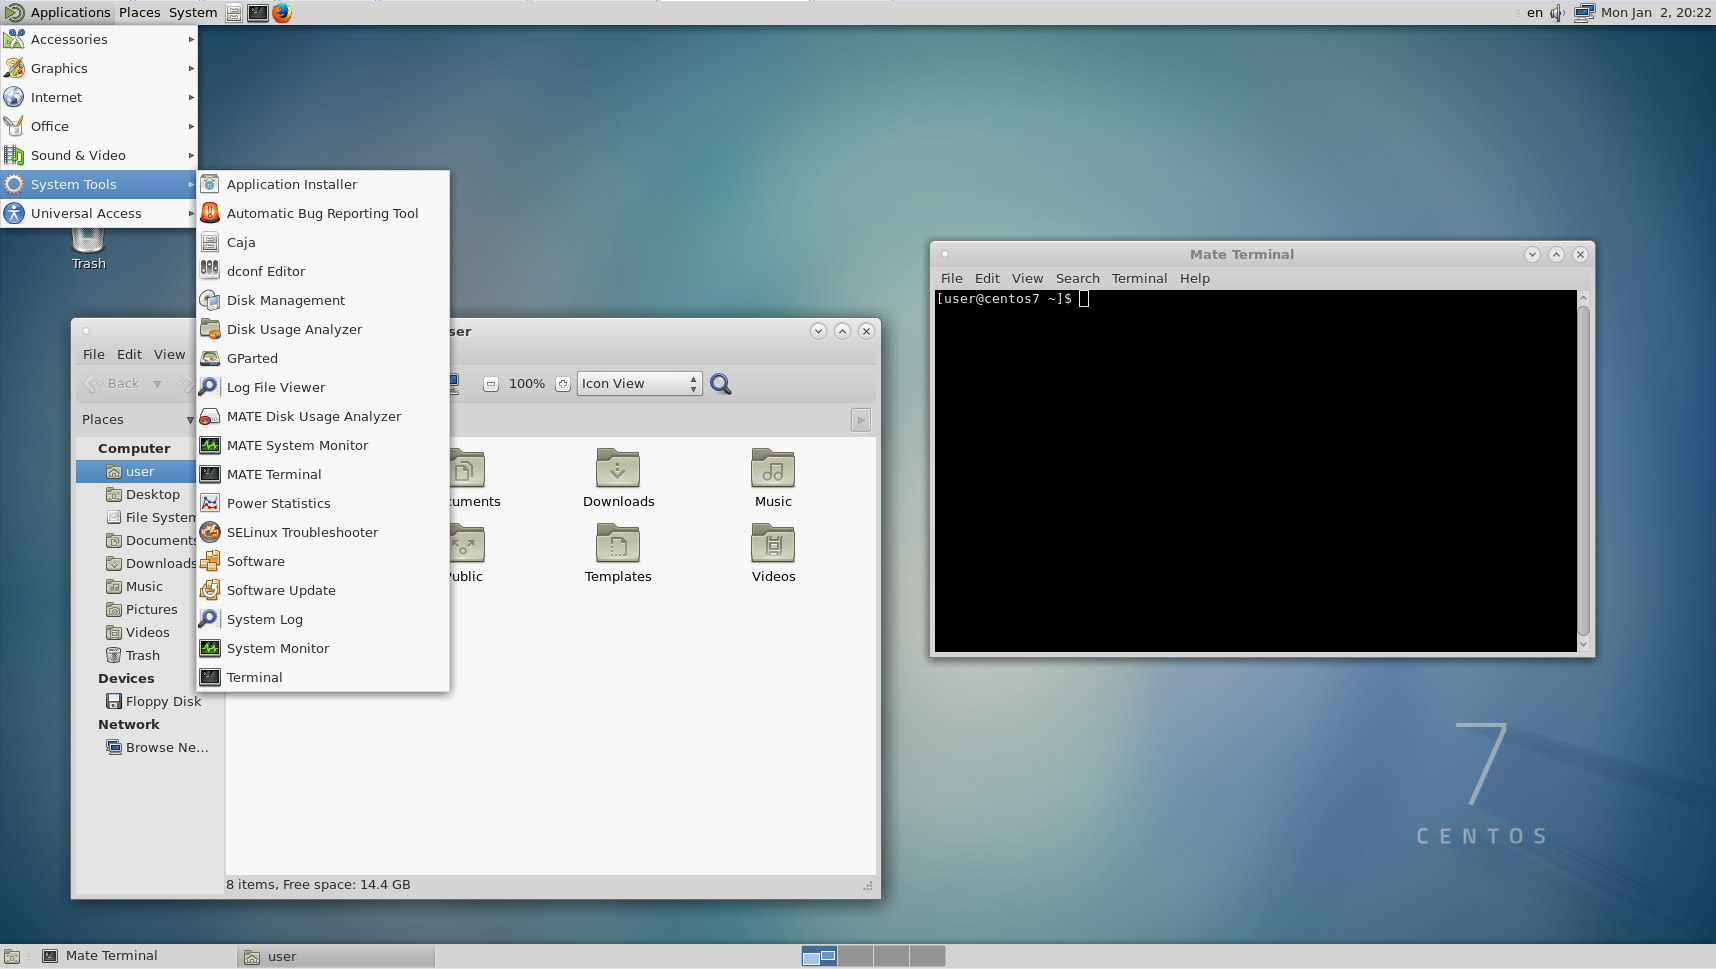
This quick guide will cover how to install the MATE desktop environment in CentOS 7, which will provide a GUI for working with the Linux system. While I don’t suggest using a GUI on a production server, it’s a good option if you’re using CentOS as a desktop.
MATE is a desktop environment originally forked from GNOME 2.
First we need to configure the EPEL repository, as this is where we will be installing packages from.
The target is similar to the old run levels, in this case multi-user.target is equivalent to run level 3 meaning that after a reboot the GUI will not be loaded here. We can set the default to the graphical.target which is equivalent to run level 5.
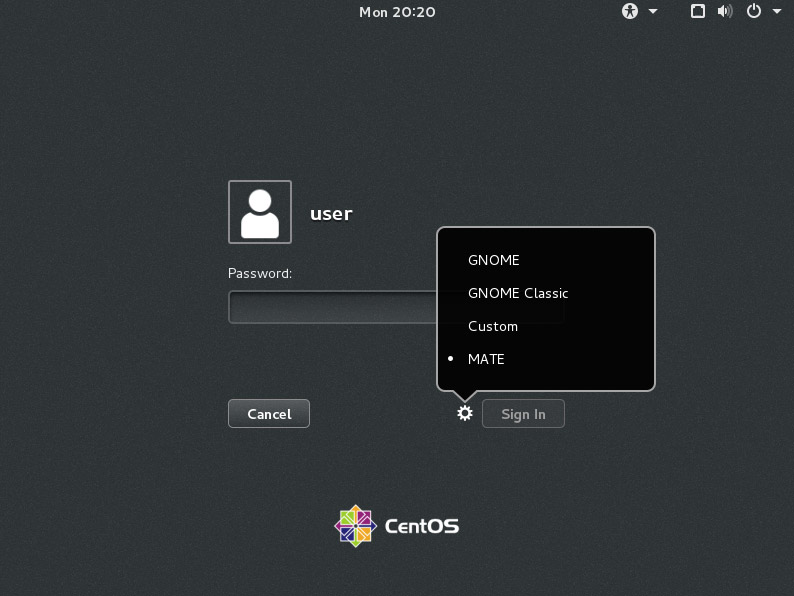
When you’re at the login screen, simply select the cog icon and pick MATE, as shown below. This preference should be remembered and automatically selected for next time.

This quick guide will cover how to install the MATE desktop environment in CentOS 7, which will provide a GUI for working with the Linux system. While I don’t suggest using a GUI on a production server, it’s a good option if you’re using CentOS as a desktop.
MATE is a desktop environment originally forked from GNOME 2.
Install MATE In CentOS
While there are many different graphical user interfaces available for Linux, in this example we will be using MATE.First we need to configure the EPEL repository, as this is where we will be installing packages from.
[[email protected] ~]# yum install epel-release -yNext I needed to install the “Server with GUI” group before proceeding. Note that this will also install GNOME, you’ll be able to change to MATE later though.
[[email protected] ~]# yum groupinstall "Server with GUI" -yInstalling the MATE Desktop Environment is now as simple as installing the “MATE Desktop” package group, which then has many dependencies to install many more packages that are required for a GUI installation.
[[email protected] ~]# yum groupinstall "MATE Desktop"Note that this may take a while, on my minimal installation I needed to download around 160 packages which took up about 550MB on top of the Server with GUI package group.
Start The GUI
By default after installing these packages, the default target should have automatically updated, meaning that after a reboot the GUI will automatically be loaded. We can check the current default target as shown below.[[email protected] ~]# systemctl get-default graphical.targetIn this instance the target has been updated appropriately by installing these package groups. If it instead said multi-user.target, then you would need to update it manually.
The target is similar to the old run levels, in this case multi-user.target is equivalent to run level 3 meaning that after a reboot the GUI will not be loaded here. We can set the default to the graphical.target which is equivalent to run level 5.
[[email protected] ~]# systemctl set-default graphical.target
Removed symlink /etc/systemd/system/default.target.
Created symlink from /etc/systemd/system/default.target to /usr/lib/systemd/system/graphical.target.

[[email protected] ~]# systemctl get-default
graphical.target
While this has changed the default target which is accessed during system boot, our current target is still the multi-user.target. We can change to the GUI by performing ‘systemctl isolate graphical.target’ which will change us to the GUI immediately.
[[email protected] ~]# systemctl isolate graphical.targetAlternatively a system reboot would also work, as all future boots should boot to the graphical target by default.
When you’re at the login screen, simply select the cog icon and pick MATE, as shown below. This preference should be remembered and automatically selected for next time.

Removing MATE
If you’ve installed the GUI on a server and realized that it was a terrible mistake, don’t worry! We can also undo this by simply using yum to remove the “MATE Desktop” group of packages.[[email protected] ~]# yum groupremove "MATE Desktop"Carefully read through the packages that will be removed and ensure that this looks correct prior to removing packages or dependencies.

Comments
Post a Comment
https://gengwg.blogspot.com/