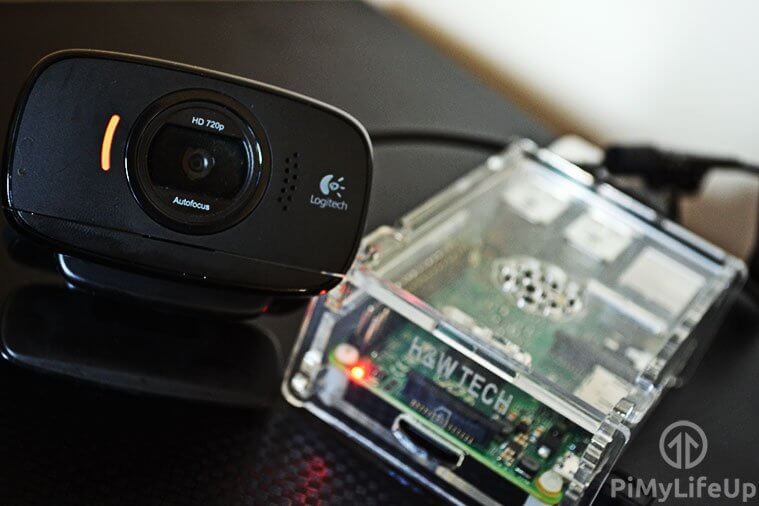
This Raspberry Pi webcam server tutorial will take you through on how to have your very own Webcam that is visible on a webpage.
If you’re after more of a security like system, then check out the Raspberry Pi security camera tutorial as it features fully-fledged web streaming, motion detection, recording and multi-camera functionality.
This tutorial is marked “intermediate” as it can be challenging to get working especially if you have hardware that differs to the versions used in this tutorial. If you find that you can’t get this to work, then the security camera solution linked above is much easier to get going.
If you’re more of a visual person and would prefer to watch how to set this up, then you check out my video below. If you like the video, then please subscribe to me, so you’re kept up to date with all the latest videos. Unfortunately, the video is now out of date and uses an older method then what’s explained in the text version of this tutorial.
Equipment
Below are some of the pieces of equipment that you will need to be able to complete this tutorial.Recommended:
Raspberry PiMicro SD Card or SD Card (If you’re using an old version of the Pi)
Ethernet Cord or Wifi dongle
Raspberry Pi Camera or USB Webcam
Optional:
USB KeyboardUSB Mouse
HDMI Cable
How to Setup a Raspberry Pi Webcam Server
Firstly, we will need to install Raspbian onto the Raspberry Pi. If you haven’t already done, this then check out my awesome guide on installing NOOBs Raspberry Pi. It will take you through all the steps that you will need to do to get up and running.In this tutorial, we will be using a package called Motion if you want to learn more about it you can check out their website at Motion.
Since the latest version of Raspbian is missing dependencies that Motion requires for it to work correctly, we will need to install a different precompiled version. The package maintainer (Calin Crisan) of Motioneye provides a package that has everything we need, and it works just fine with the Raspberry Pi.
1. We will be using the terminal, so open the terminal on the Pi or connect to it via SSH.
2. To begin, first, update the Raspberry Pi, so you’re running on the latest version.
sudo apt-get update
sudo apt-get upgradeRaspbian Jessie
1. We start by removing libraries that may conflict with the newer packages. These may or may not already exist on your copy of Raspbian.sudo apt-get remove libavcodec-extra-56 libavformat56 libavresample2 libavutil54wget https://github.com/ccrisan/motioneye/wiki/precompiled/ffmpeg_3.1.1-1_armhf.deb
sudo dpkg -i ffmpeg_3.1.1-1_armhf.debsudo apt-get install curl libssl-dev libcurl4-openssl-dev libjpeg-dev libx264-142 libavcodec56 libavformat56 libmysqlclient18 libswscale3 libpq5wget https://github.com/Motion-Project/motion/releases/download/release-4.0.1/pi_jessie_motion_4.0.1-1_armhf.deb
sudo dpkg -i pi_jessie_motion_4.0.1-1_armhf.debRaspbian Stretch
1. First, install the following packages. This command will work both on the full and lite version of Raspbian Stretch.sudo apt-get install libmariadbclient18 libpq5 libavcodec57 libavformat57 libavutil55 libswscale4sudo wget https://github.com/Motion-Project/motion/releases/download/release-4.0.1/pi_stretch_motion_4.0.1-1_armhf.deb
sudo dpkg -i pi_stretch_motion_4.0.1-1_armhf.debConfiguring Motion
1. Now we need to make some edits to the configuration file (motion.conf)sudo nano /etc/motion/motion.conf- daemon on
- stream_localhost off
- output_pictures off
- ffmpeg_output_movies off
- stream_maxrate 100 (This will allow for real-time streaming but requires more bandwidth & resources)
- framerate 100 (This will allow for 100 frames to be captured per second allowing for smoother video)
- width 640 (This changes the width of the image displayed)
- height 480 (This changes the height of the image displayed)
sudo nano /etc/default/motionstart_motion_daemon=yes6. Now make sure the camera is connected and run the following line:
sudo service motion startsudo service motion stop192.168.1.103:8081sudo service motion restart

Extra Steps for the Raspberry Pi Camera
If you want to use the Raspberry Pi camera module, then you will need to do a few additional steps to set it up.Installing the Hardware
1. First, go to the CSI ribbon cable slot on the Pi and with two fingers on each side of the connector pull up. This technique should now open the connector, now insert the ribbon cable with the metal leads facing away from the Ethernet Port.2. Once you have lined it up gently press the connector back down and the cable should now be locked in one place.


Configuring the Software
To get the Raspberry Pi camera to work with Motion, we will need to do a few extra steps.1. First make sure the camera is switched on within raspi config, enter the following command and then enable the camera. (You will need to restart once you have done this).
sudo raspi-configsudo nano /etc/modulesbcm2835-v4l2sudo reboot192.168.1.103:8081

Setting up outside External Access
In order to enable external access to the Raspberry Pi webcam server, we will need to change some settings on the router. However, all routers are designed differently so you may need to look up instructions for your brand of router. Please note, opening ports to the internet comes with a security risk.If you need a more in-depth guide, then be sure to take a look at my guide on how to set up Raspberry Pi port forwarding and dynamic DNS.
The following steps are what I did on mine in order to get it to work. My router is an AC1750 TP-Link Router.
1. Go to the Router admin page (This will typically be 192.168.1.1 or 192.168.254)
2. Enter the username and password. Default typically is admin & admin.
3. Once in go to forwarding->Virtual Server and then click on add new.
4. In here enter:
- Service port: In this case 48461
- IP Address: 192.168.1.103 (Address of your Pi)
- Internal Port: We want this to be the same as the webcam server so make it 8081
- Protocol: All
- Status: Enabled
6. You should now be able to connect to the Raspberry Pi webcam stream outside your network. You may need to restart the router for changes to take effect.


Comments
Post a Comment
https://gengwg.blogspot.com/